FDSRS Depot - Locomotive Shed
|
|
FDSRS Depot - Locomotive Shed |
|
At the depot we have two operational rail sheds - the Pit Shed and the Carriage Shed. Both the Pit and Carriage shed are in use and are basically full up. We store and repair the F and the Wab in the Pit shed as it contains the workshop.
We have purchased a large shed second hand. The shed was orginally part of the Placemakers complex that once stood where the Feilding Warehouse now stands. The new shed will be placed very close to the turntable and it will be the running shed. The operational locos will be stored in this shed. We purchased the Locomotive Shed in a disassembled state. Below is the ongoing progress of the construction of the locomotive shed and adapting it to suit our needs.
|
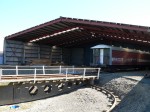
13th April 2008 The double roller door has been installed. |
|
13th April 2008 Work continues on the loco shed with the entrance wall being created. |
|
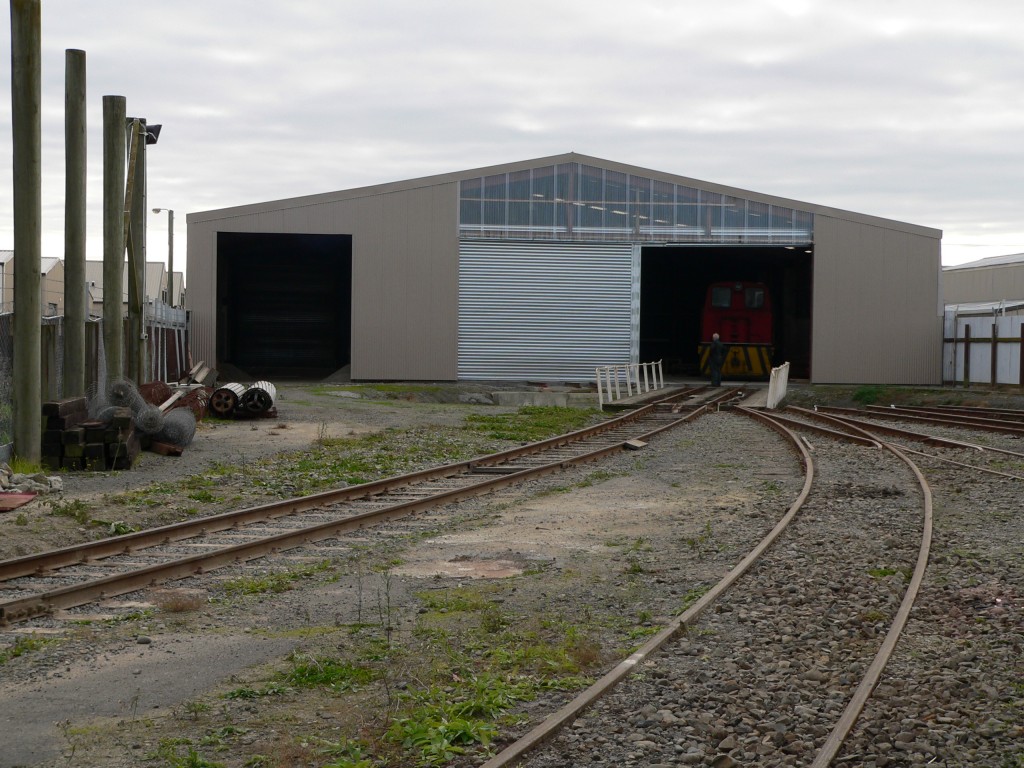
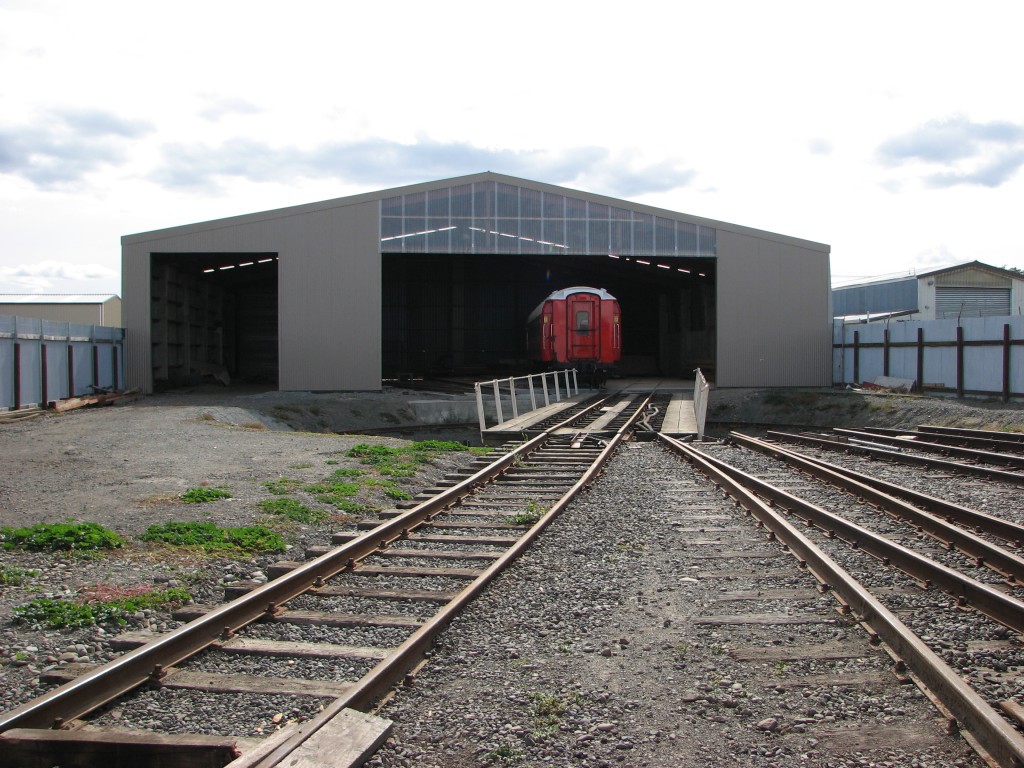
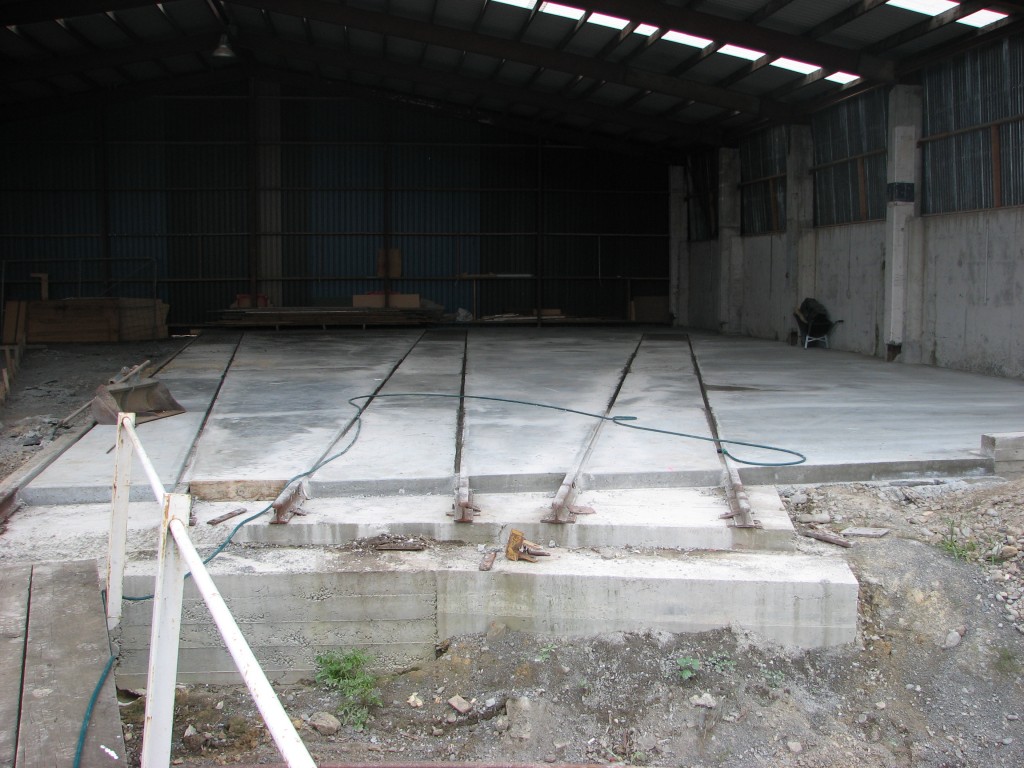
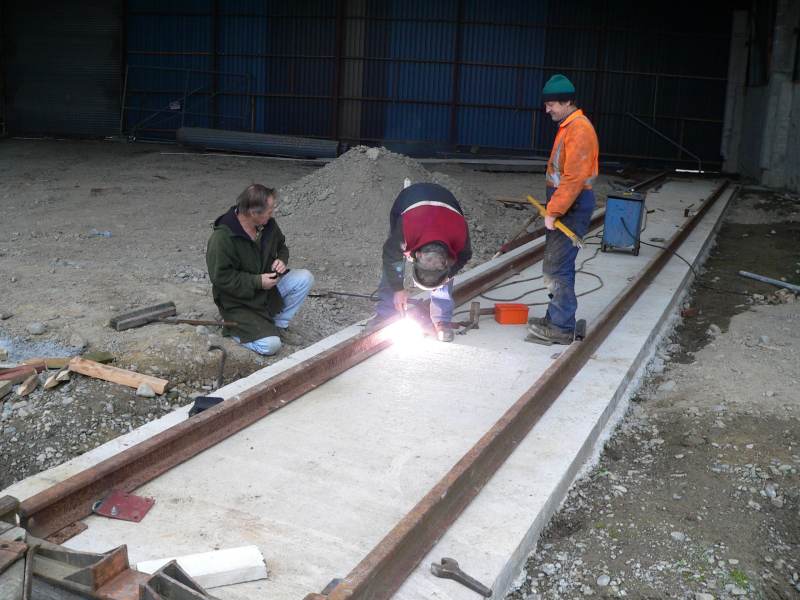
9th March 2008 We now have 3 tracks concreted in. |
|
4th June 2005 The members are busy laying the track for the first line in the shed. |
|
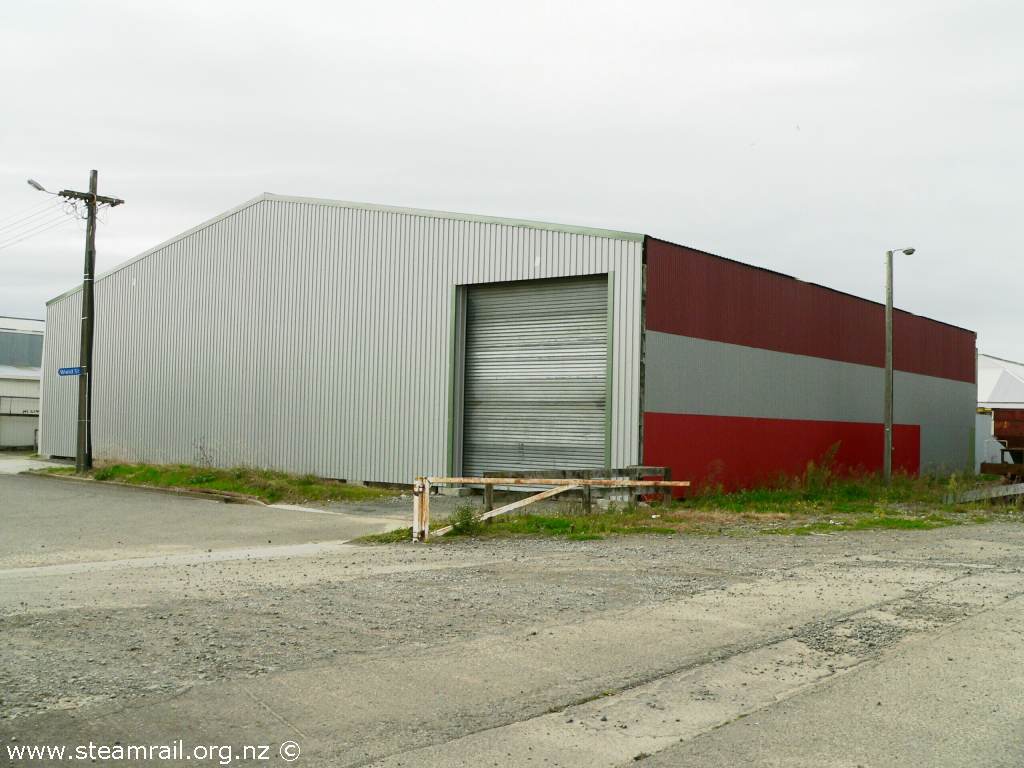
30th April 2005 An outside view of the shed, the roller door is now fitted. |

|
30th April 2005 The boxing has been removed. Also can see the lights fitted up on the roof and has power connected thanks to a grant from the Central Power Trust. |
|
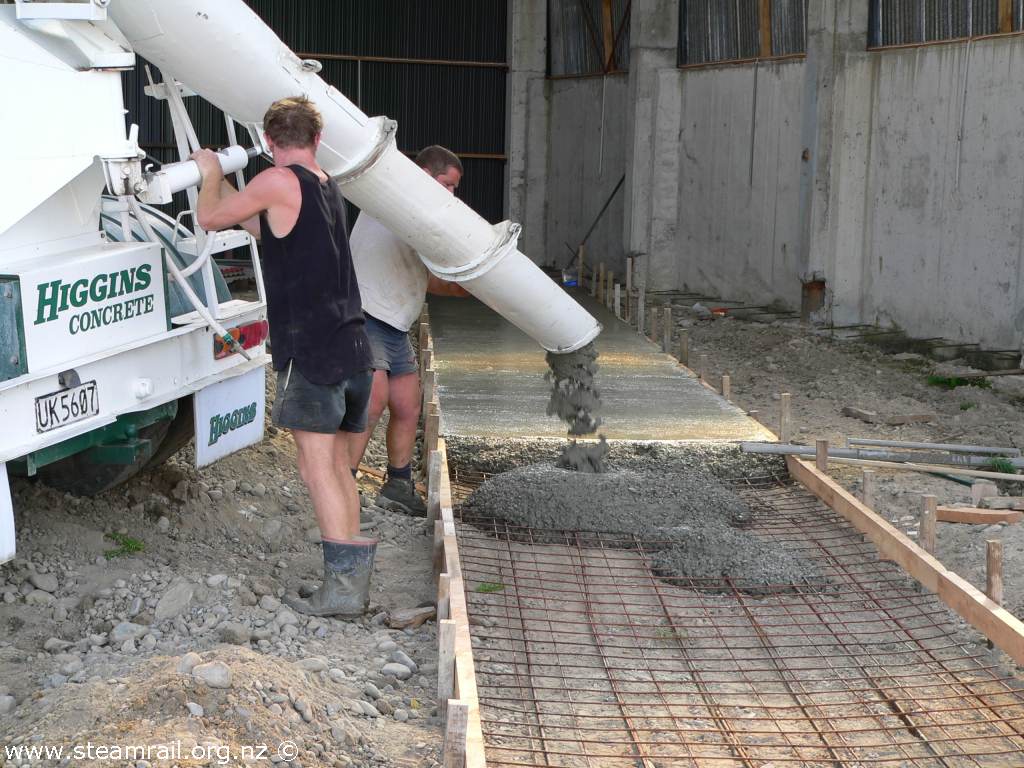
6th April 2005 Pouring the foundations for the first road in the shed. |
|
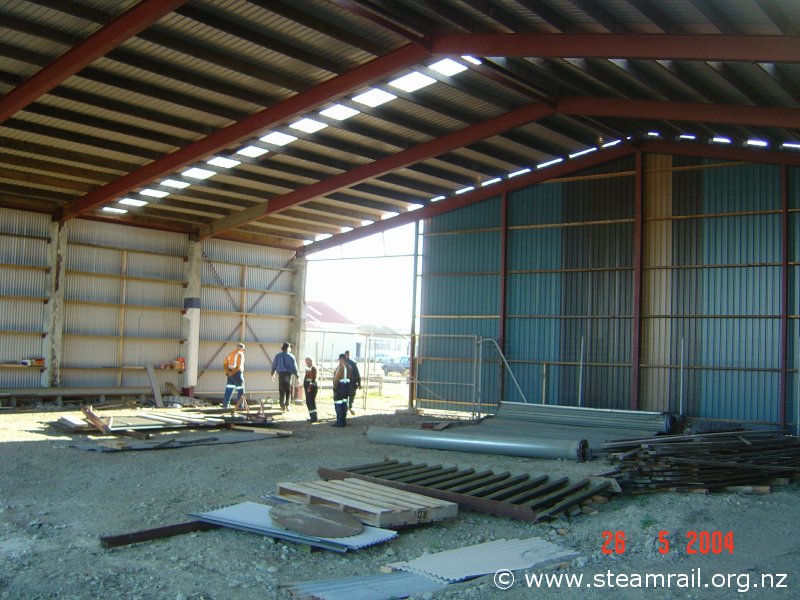
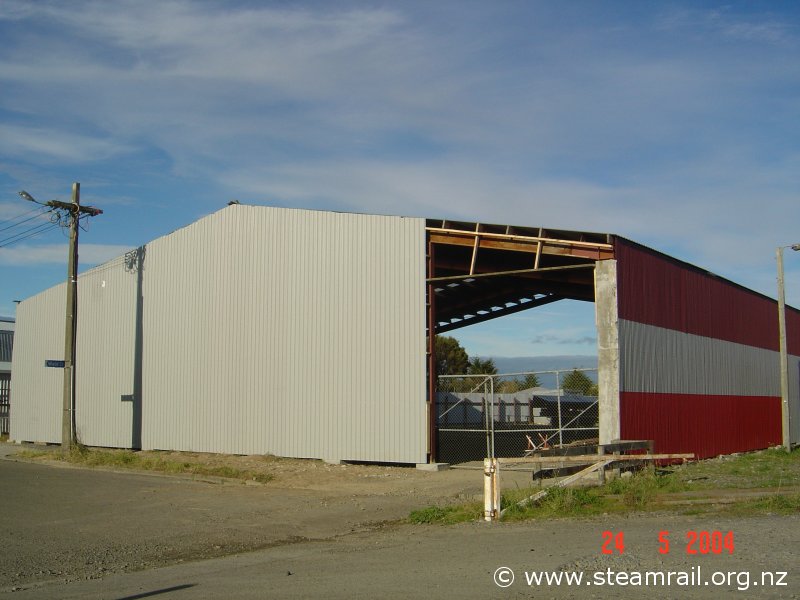
26th May 2004 An inside view of the shed. |
|
24th May 2004 The members of the society have been busy and welded in brackets and bolted up the supporting timber and nailed on the iron. |

|
26th May 2003 Once the concrete is dry the boxing is removed. |
|
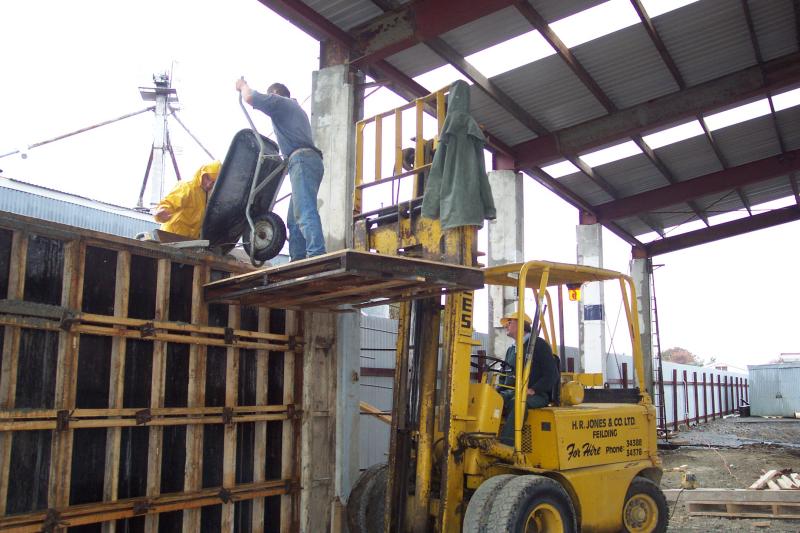
The new shed has been built on the boundary and requires a concrete wall to be built along the boundary. Here you can see a concrete mixer loading wheelbarrows that are then lifted with a fork lift and the concrete poured into the boxed up wall. |
|
The old iron that came with the shed was quite second hand so a kind member donated the money to buy new colour steel for the new roof. |
|
The iron is screwed into the timber supports for extra strength. |
|
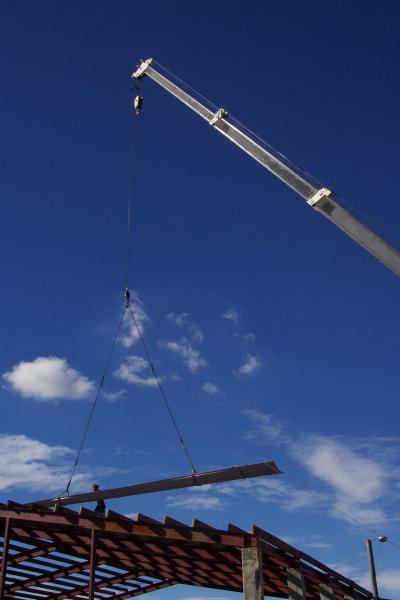
A crane was used to lift the iron onto the roof. |
|
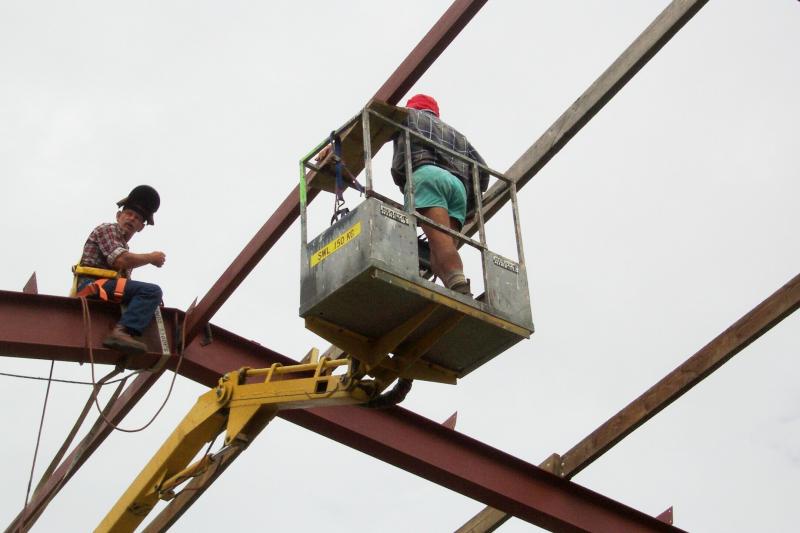
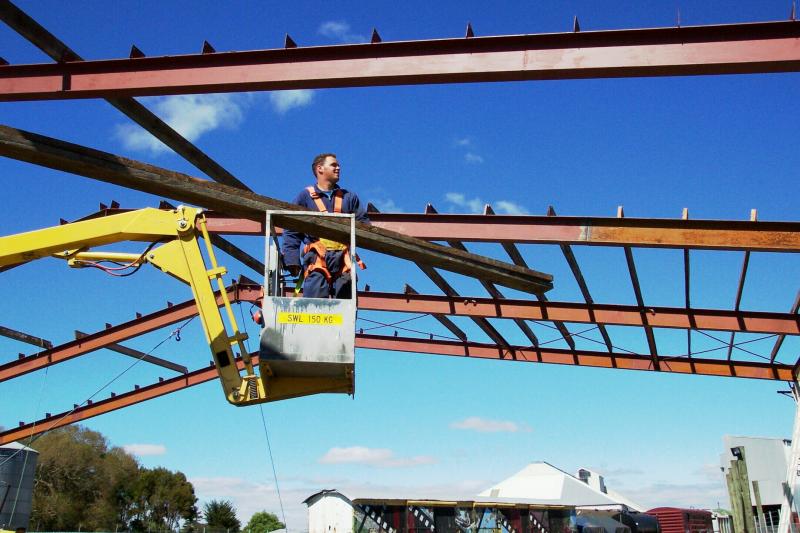
Feilding Steam Rail Members Tony and Bob welding in the steel beams that strengthen the roof structure |
|
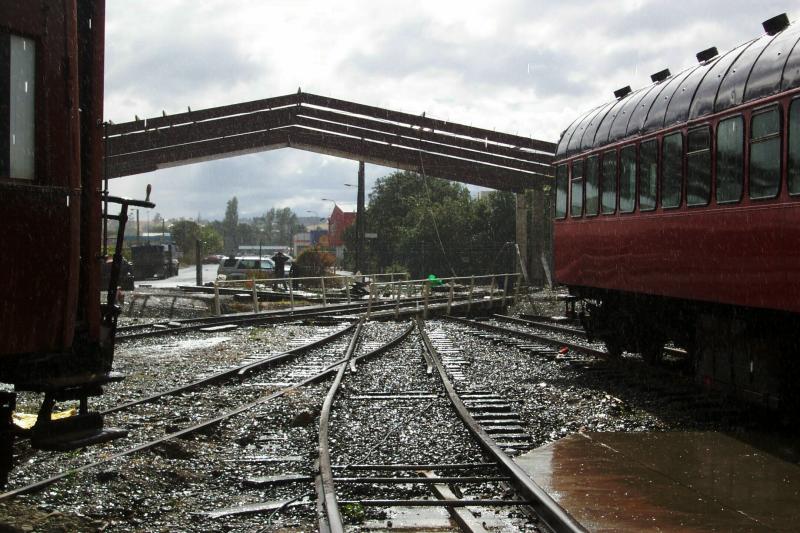
Shed three in the rain. |
|
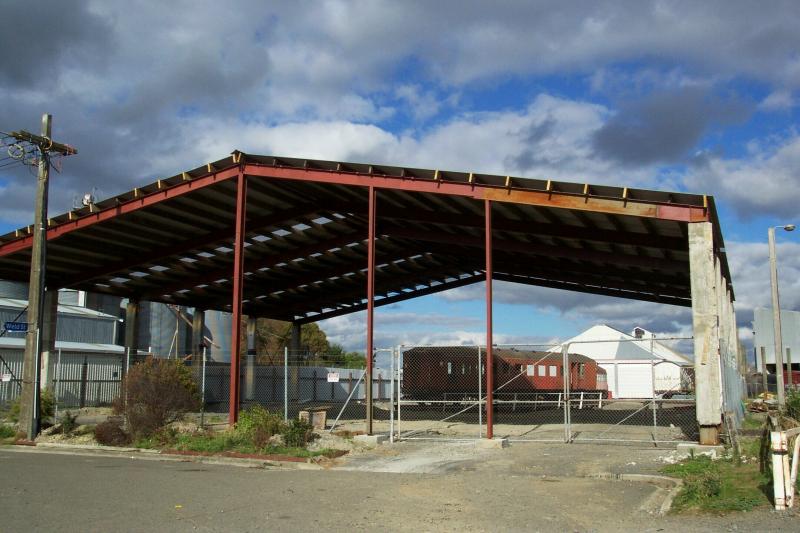
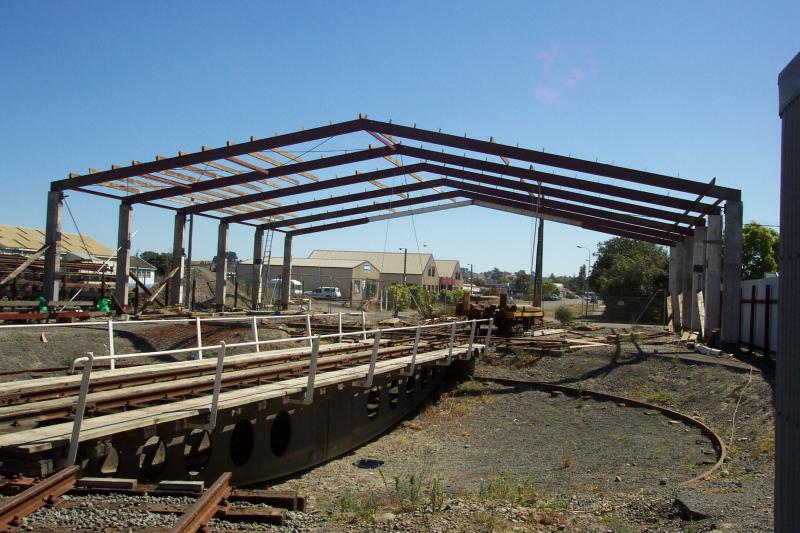
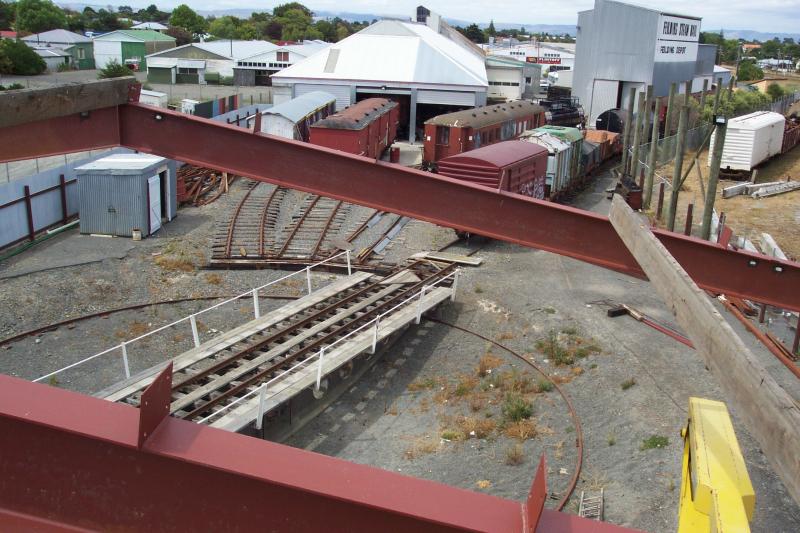
This is the view of the new shed. Three roads will be accessable via the turntable and hopefully one other will run beside the turntable directly into the shed. |
|
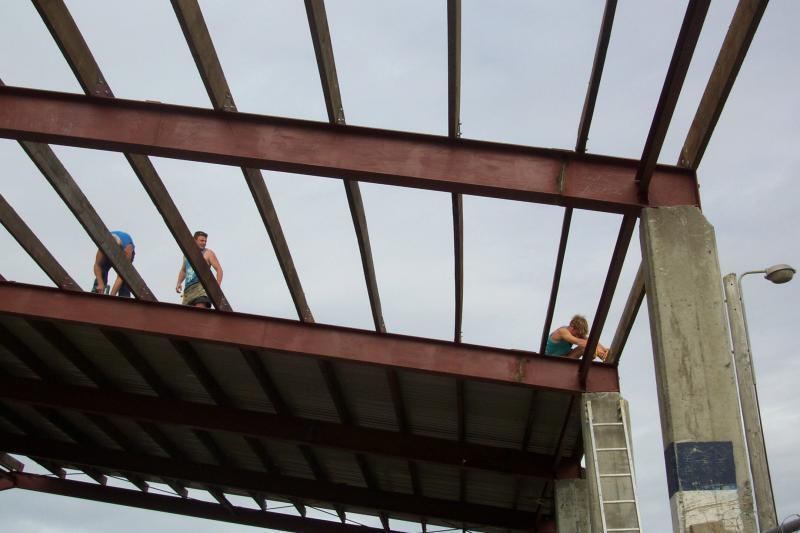
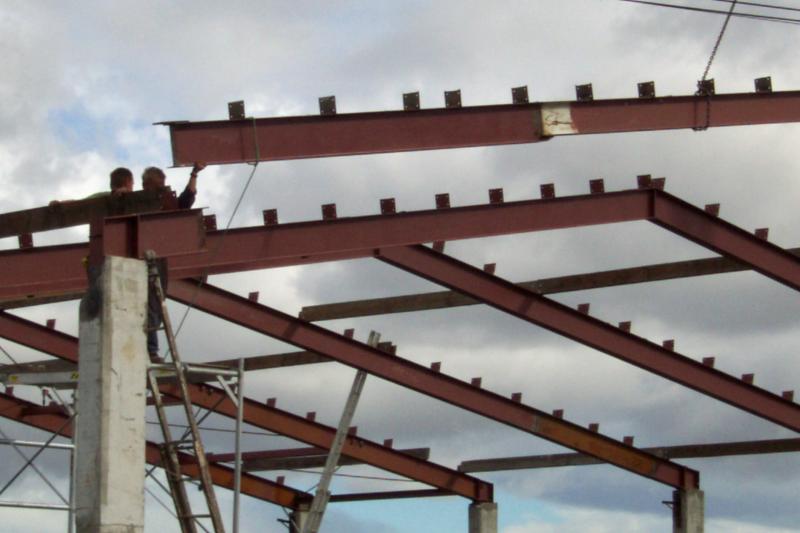
Once the beams were welded in place the builders bolted in some of the purlins to strengthen the building. The members of Feilding Steam Rail are fitting the rest. |
|
We had trouble when we installed the first two beams as they were fully welded together with the big concrete wall beams attached. The next time we installed them in three pieces and welded them together. |
|
As you can see the shed is quite big. This picture shows all of the walls installed nearest the railway. |
|
We put up the next row of beams differently from the first two. This time we put the walls up first then welded the roof beam into place. |
|
Once the beams were up we needed to secure them together. This view shows Shed 2 and the various rail lines. |
|
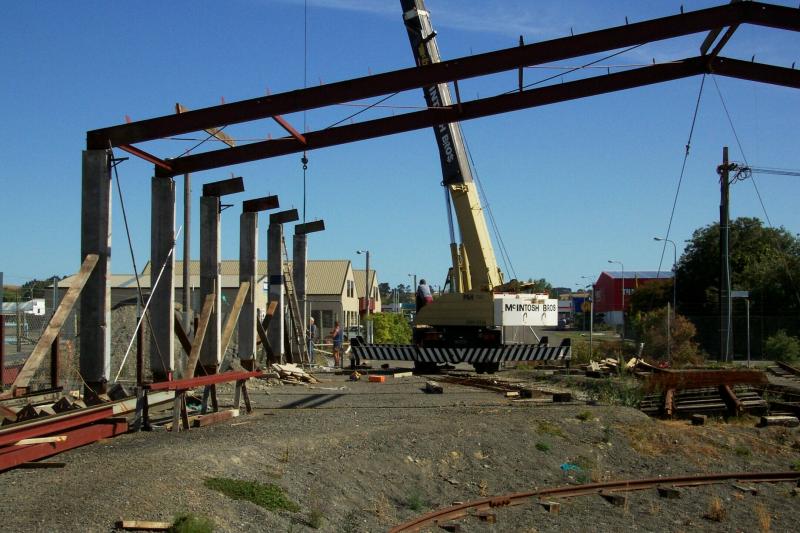
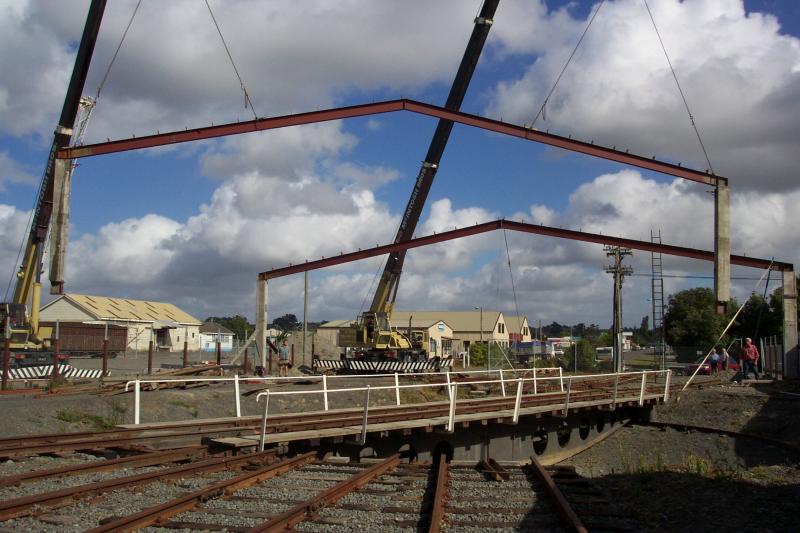
We used two cranes to place each beam. |
|
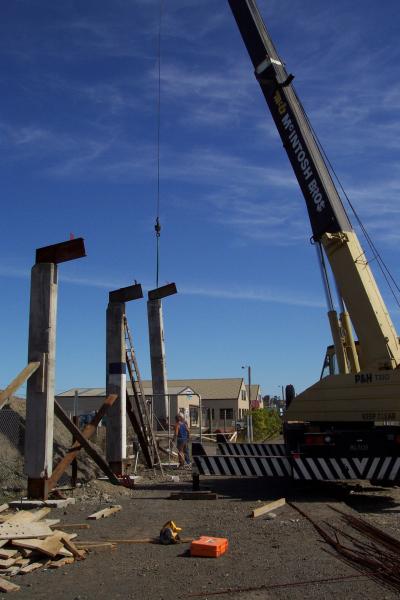
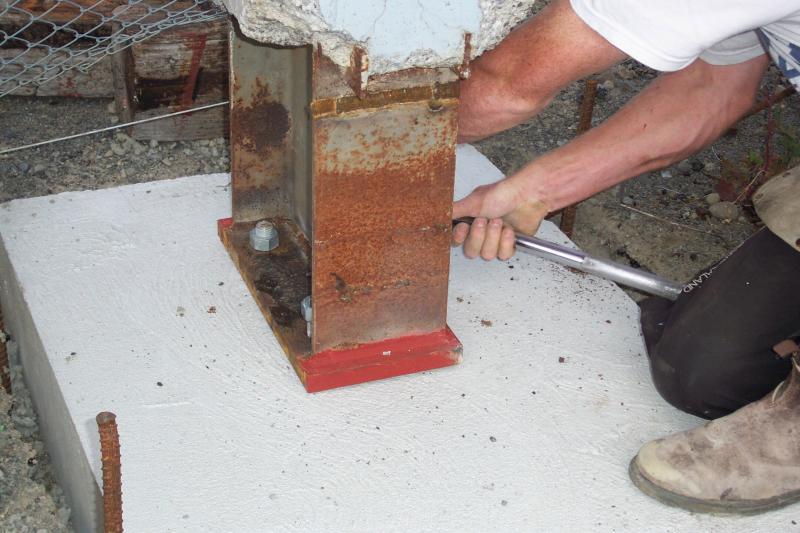
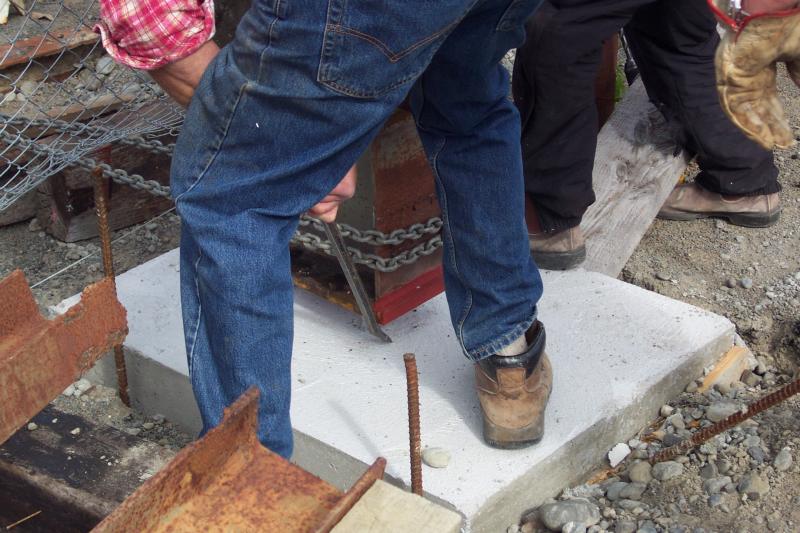
Once the foot was correctly placed on the concrete the bolts were done up. |
|
Once a couple of the griders were complete we used cranes to fit them into place. Here you can see the guys lining the feet up with the bolts in the concrete foundations. |
|
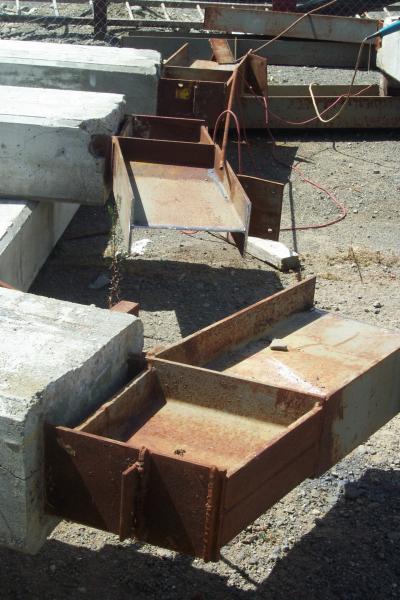
It looks like a scrap heap put it is not. As you can see the shed was completely dismantled. |
|
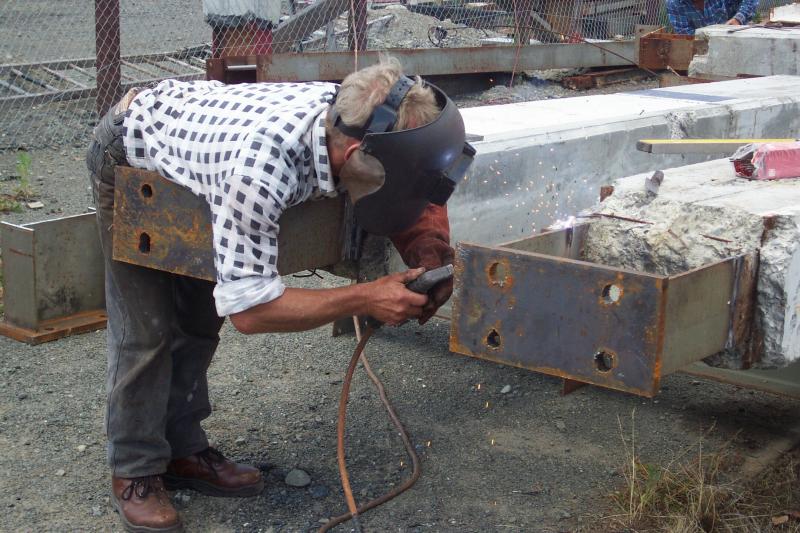
Welding the topside of the weld. Tony and Bob have put in many hours of work, these two members are very hard workers. |
|
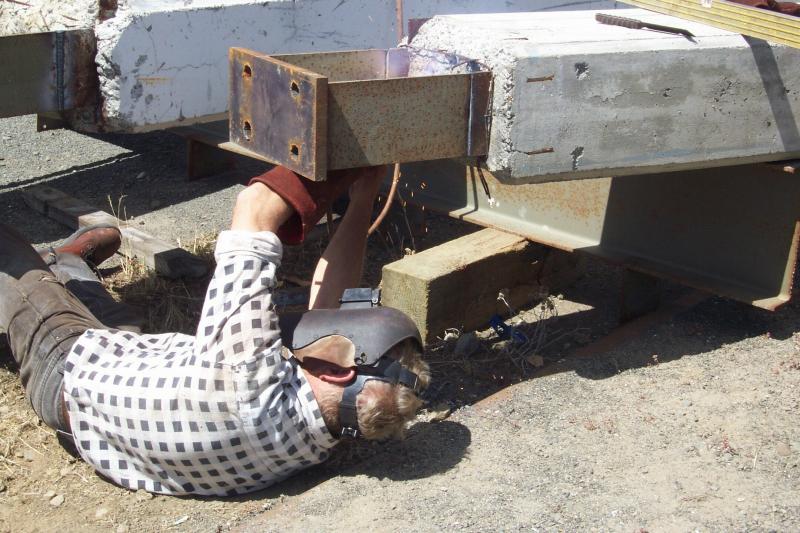
The girders' feet had been cut off when the shed was dismantled and Tony can be seen welding on new feet. He is welding the underside of the weld. |
Majority of photos taken by Stan Jenkins.